What Are The Parts Of Your Rope
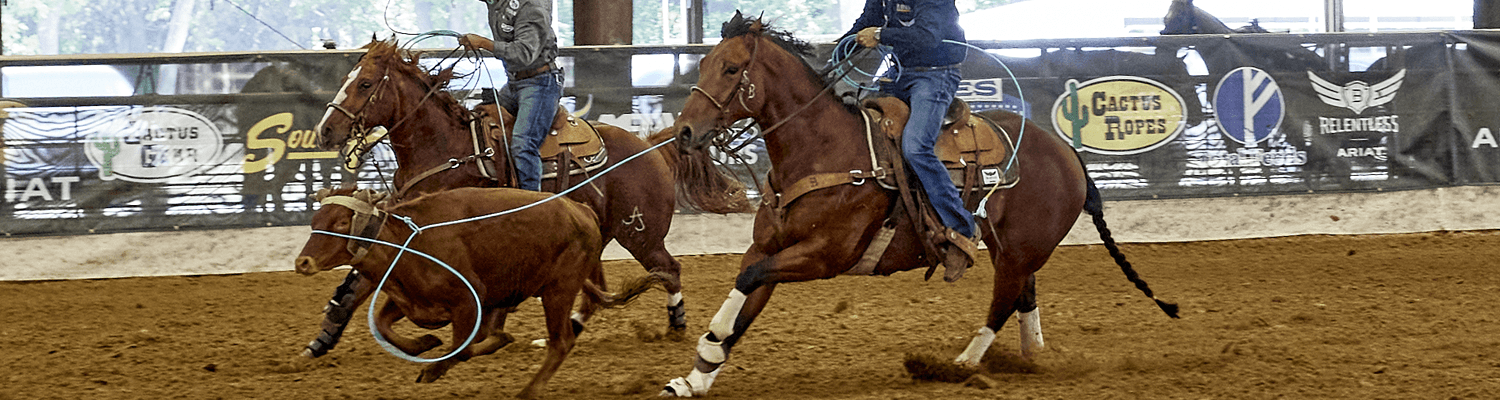
What’s up, everybody? Today, we’re going to talk about something that sometimes gets overlooked when talking to beginner ropers, and that is breaking down the parts of your rope. It doesn’t matter if you’re team roping, roping calves or ranch roping. The general parts of your rope are the same. Yes, your rope is all one piece, but there are different sections, and knowing what those sections are can actually help you understand what the lingo is that some of the professional ropers are talking about. If you’re watching some educational platforms like roping.com, they talk a lot about your tip and your spoke, so we’re going to break down the parts of your rope for you.
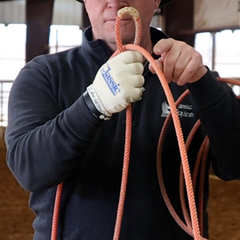
The Eye
We’ll start with the small loop that the rope runs through. That is going to be called your honda, hondo, or eye. From here on, we will call it the eye of your rope. The eye has a lot to do with the feel of your rope. The size of the eye helps determine how the weight of your rope feels in your swing. The way the eye of your rope sits when it’s tied, straight, to the right or left, determines how well your rope feeds and can also affect the twist of the rope as the rope gets used.
Your Spoke
Moving back from the eye of the rope, the distance between the eye of the rope and your roping hand is your spoke. If you feed into your loop, your spoke will usually be longer than half of your loop. Once you feed into your loop, it should generally be at least at the halfway point of your loop. Most beginner ropers will tend to have more rope in front of the eye to give themselves more tip. As they progress the eye will move closer to the halfway point of the loop, making for a more balanced loop.
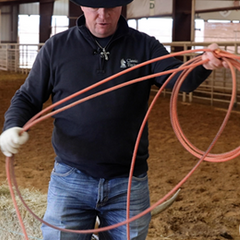
Find the Tip
We mentioned the tip just a moment ago, and the tip is one of the most important parts of your loop to identify. That’s why most beginner ropers have a shorter spoke (the eye behind the halfway point of your loop), is so there is more tip to feel in the swing and delivery. The reason a shorter spoke gives you more tip is because your tip is the part of the rope from right in front of the eye to about the bottom point of your loop. Knowing where your tip is in your swing is important in any type of roping and will dictate your delivery.
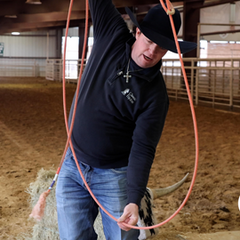
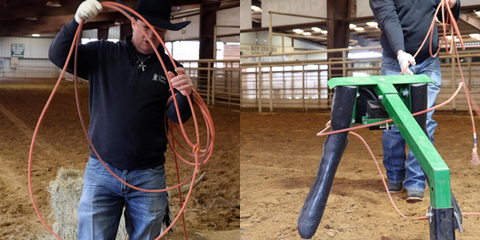
The Lead
Another part of your rope that is going to dictate your delivery is the portion of rope between your roping hand and the hand holding your coils. Professional Team Roper and 11X NFR qualifier, Kevin Stewart, calls that portion of your rope the lead. You don’t want to have too short of a lead, which is called handcuffing yourself, and you don’t want to have too long of a lead because it makes it hard to manage your loop while riding your horse. Your lead is important because it helps hold your top strand up when you’re heeling, and it helps you determine how much rope you need to throw when you’re heading, as demonstrated on the Rank Racks heading dummy.
Top and Bottom Strands
When we’re talking top and bottom strand of your loop, your top strand is from the thumb side of your roping hand clear through the tip of your rope. Your top strand hits first when you’re heeling, as you can see on the Smarty, and is the strand that needs to go over the left horn to finish a head loop.
The bottom strand of your loop is from the heel of your hand to the tip of your loop. Your bottom strand will be the strand on the ground when you’re heeling, and it will be the portion of your loop that needs to go under the right horn to initiate a head catch.

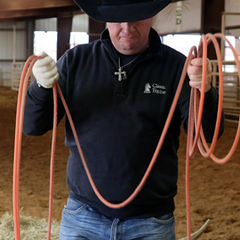
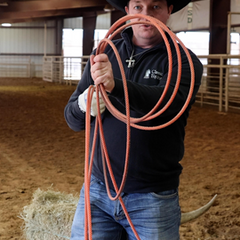
Your Coils
Moving from the loop and the lead, we go to the coils. Your coils should be arranged in your hand so you can drop each one individually in case you need to slide rope in a dally, heeling, or if you reach at a steer, heading. The coils need to be able to flow freely without tangling in each other or your hands. Coil size is a matter of preference, as well as the number of coils. Generally, the most common number of coils from the most beginner level to the top professionals is three coils. Two coils aren’t usually enough, and in order to not have a lot of tail hanging down, your coils become too big to manage your loop and efficiently ride your horse at the same time with two coils. Those who prefer four coils often are jackpotting and have less margin for error in delivery because they run to a more consistent position every time.
The Tail
Lastly, the tail of your rope is the end of your rope with the knot. You want to let your tail hang on the opposite side of your horse as your roping hand. You don’t want it too long to where your horse can step on it. When your horse steps on your rope, it can injure you and at the very least, alter your timing and swing, adversely affecting your roping.
We hope this little breakdown of the parts of your rope helps you understand what the top ropers are talking about and ultimately helps you execute the fundamentals they’re instructing. Good luck out there!